


How to install a Bette bath correctly
All you need are a new bath, bath feet, a sealing system, waste fitting, bath anchors – and a few minutes' time.
We spent a long time working out how to make installing our baths as easy and uncomplicated as we could. You'll find step-by-step instructions here for the skilled installation of a Bette bath with the correct accessories and our professional installation tools. You'll soon see - it couldn't be any easier.
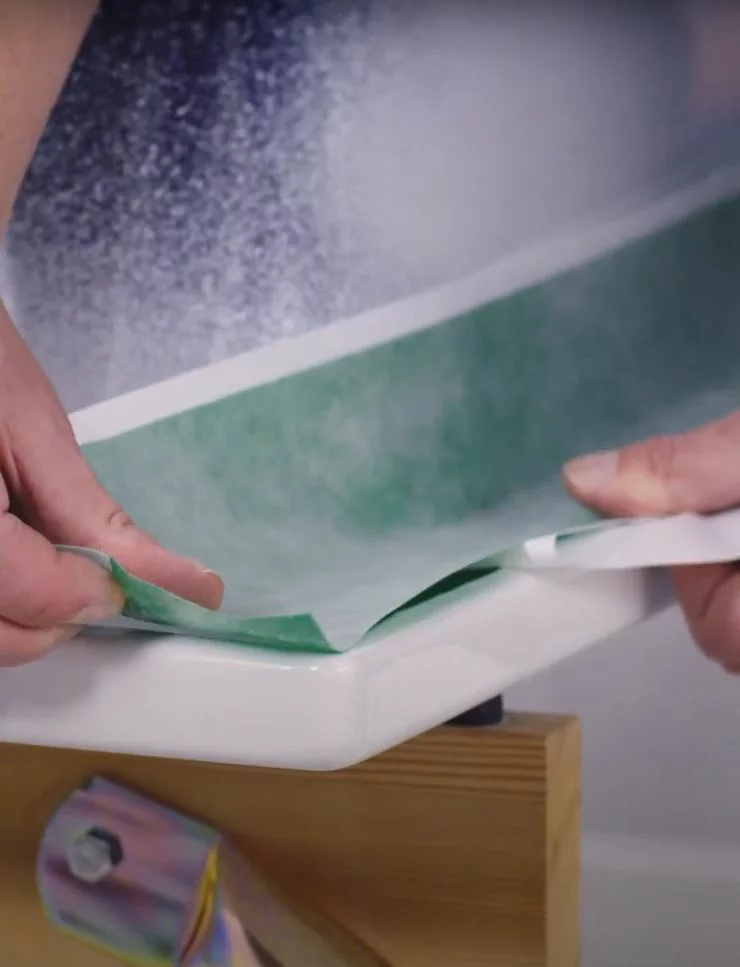
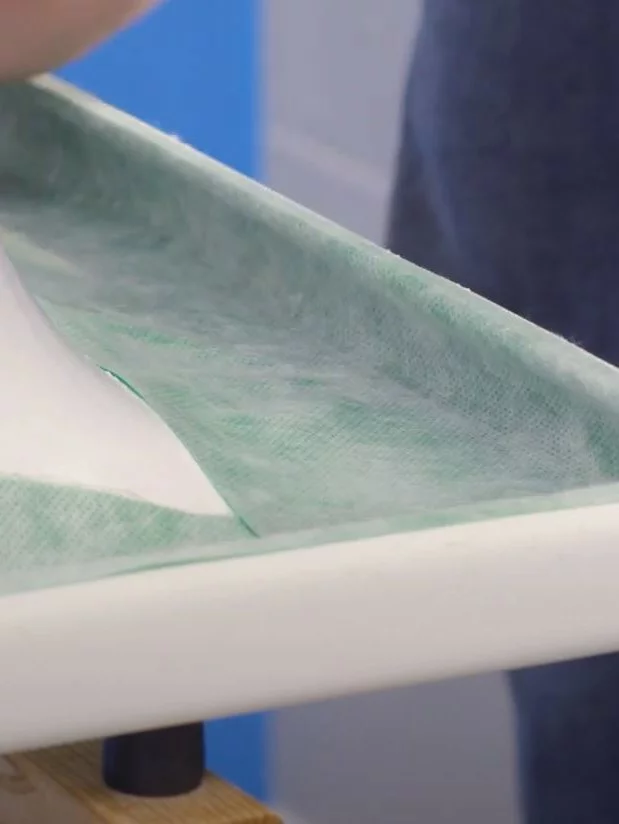
1. This is how you attach the bath foot
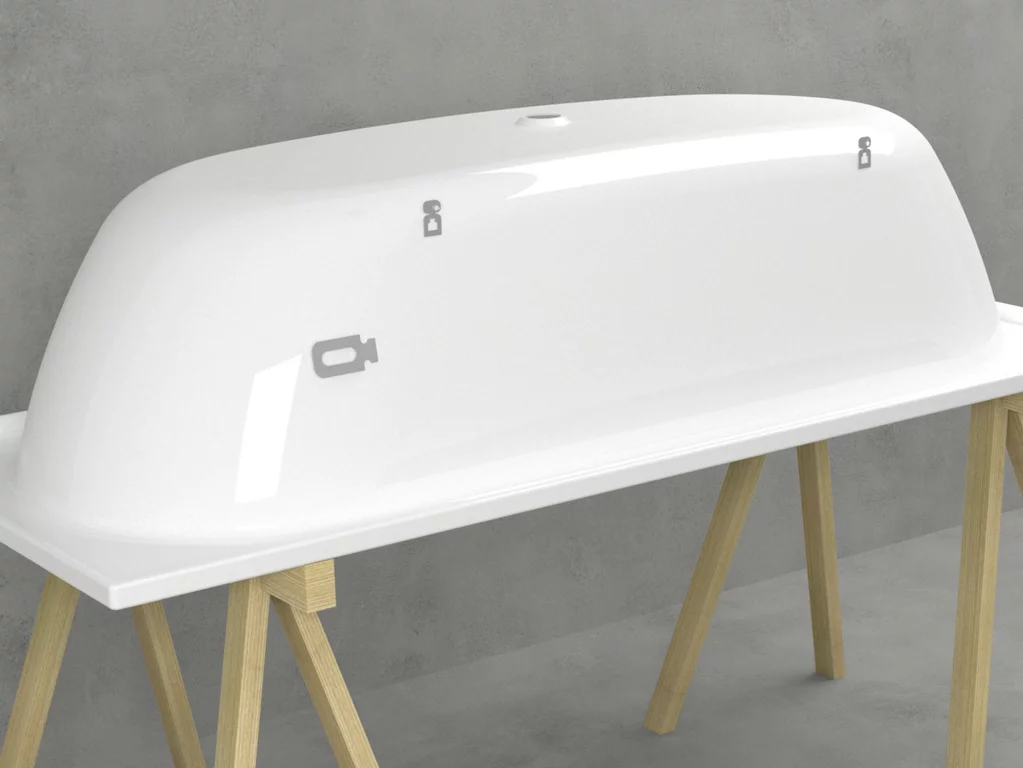
In order to make it easier to install your bath, place it upside down on supports. Choose the working height that suits you. Then remove the protective non-woven fabric from the foot tabs and bend them slightly away from the bath. To attach the foot bridge, first hook it into the foot tab on one side. Do the same on the other side, and position the feet evenly to suit the position of the bath. Now tighten the tension tape to a maximum of 3.5 Nm – until the screw head breaks off. Don't worry: the break-off screws will prevent you from over-tightening, which could result in deformations on the bath. Do the same with the second foot bridge. Then stick the remaining tension tape under the foot bridge. This will allow you to check that you have positioned the feet flush, according to the shape of the bath.

2. How to fit the waste fitting
In this example, we are using the BetteSpring inlet. This allows you to dispense with a wall-side water inlet, as the bath fills from the inlet in the bottom of the bath. Fit your chosen drain and overflow set in accordance with the specifications in the assembly instructions.

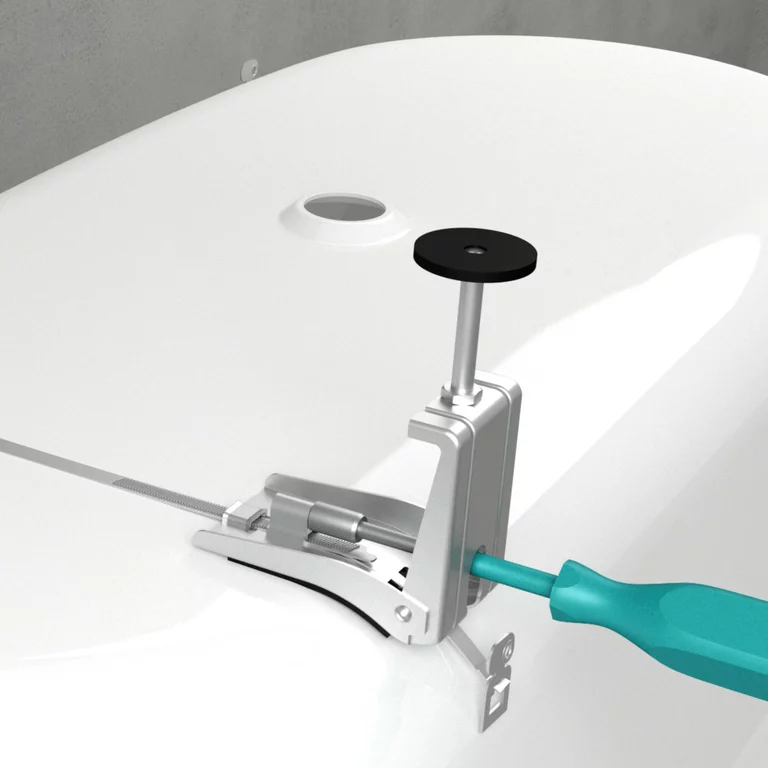
3. How to adjust the bath feet
Once you have fitted the waste fitting, you can adjust the feet to the approximate dimension. When you adjust the feet, make sure that you leave a gap of at least 5 mm to the floor under the waste fitting. Then you can set up the bath for the initial positioning and apply the dimensions for the bath anchors.

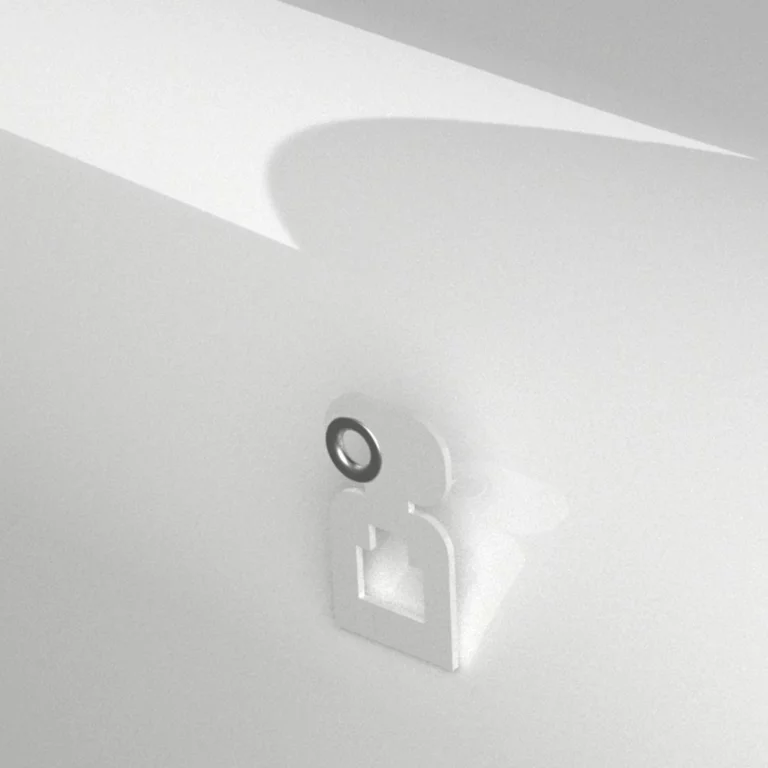
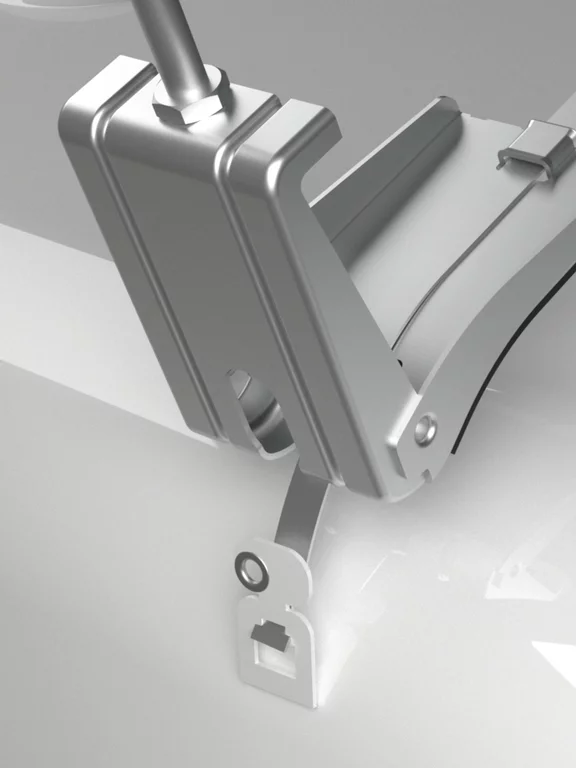
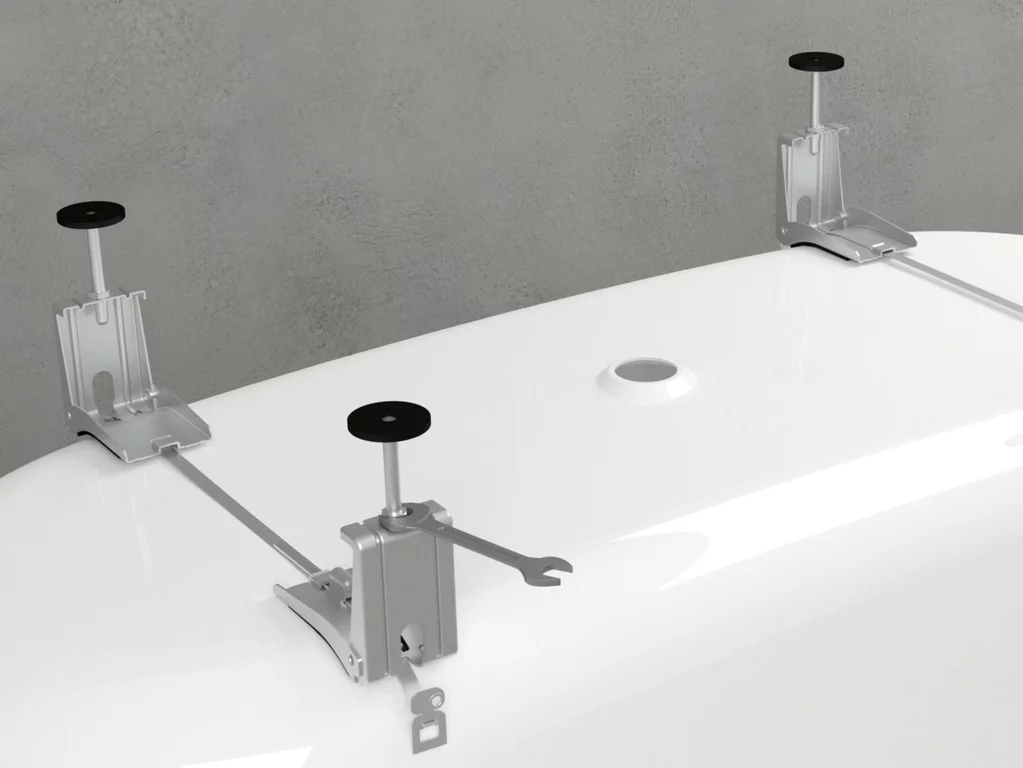
4. How to fit the bath anchors
Use the bath anchors with integrated sound decoupling to reliably fit a bath or shower tray to a wall. We recommend you use three anchors to fit your bath. You will find them in our set. Position the bath anchors according to the bath rim geometry. You can attach the bath anchors so the bath is "clamped" or "resting". The assembly instructions show you exactly where and how to fit the bath anchors.
6. How to fit the sealing system
Once you have applied the bath divider, you can attach the sealing system to the rim of the bath. Apply the long and short sides to the wall. To do this, first glue the bath adjustment corner to the wall/wall corner. This ensures that the corner radius of the bath is as precise as possible. Now you can easily work the sealing tape into the right angle of the wall/wall corner.

Then apply the sealing tapes and corners to the outside of the rim of the bath as appropriate to your installation situation and in accordance with the assembly instructions. Run the enclosed roller over all the adhesive surfaces. Our sealing system for baths contains all the items that you need, both for the bath shown here with the conventional bath rim (≥15 mm) and for our baths with folded edges. Finally, apply the bath divider, which you will also find in our sealing set. The bath divider needs to be attached to the sides of the bath that will later be positioned against the wall - on the rim above the sealing tape. The bath divider has a decoupling effect between the rim of the bath and the wall.


7. How to set up your bath
You can now turn the bath over again, put it where you want it to go, and align the feet for the last time using a spirit level. Then turn and tighten the bath anchors to match the rim of the bath and the installation height. The bath will now be positioned over the feet and attached by the anchors. You can now carry out the potential equalisation of the foot tab, as appropriate to the national requirements for your location.
Time to test fill your bath
When you test fill your bath, you can check the inlet and outlet and make sure that there are no leaks. Run 50-60 litres of water into the bath so it is loaded appropriately for grouting later on. Then apply the tile dividing strip, which is included in the sealing system, to the rim of the bath. The tile dividing strip will be tiled over later on. This dividing strip ensures a safe decoupling between tile and bath.


8. Underpinning, sealing and tiling
Now you – or the tiler – can underpin, seal and tile the bath. Underpin the bath first (e.g. with Ytong stones). Then work the underpinning into the composite seal along the base. The bath sealing system must also be worked into the composite seal. Then you can tile the floor, base and wall. Cut off any of the tile dividing strip that is still visible. Now all that remains is to clean the rim of the bath and apply silicone. And you're done!


FAQs

